Good evening, stampers! If you follow my blog, you've noticed that I've been MIA. I had a sweet little one join our family just over a year ago and she has been keeping me busy. I've been struggling because I want to make the time to stamp, but I also feel like I don't have time to regularly make the extremely detailed cards that are my favorite to work on. And so, instead of doing something, I've done nothing. And all it's done is make me miss this habit...I mean...hobby even more. And then I got to thinking...I'm just like everyone else. While we may have different demands on our schedule, we all have demands on our schedules. It might be caring for kids, or elderly parents, it might be serving your church or community, it might be a job or jobs, other hobbies, caring for your home or cars, etc.
So then I thought "hey, maybe my stampy friends would enjoy some inspiration that is easy to replicate so that they, too, can squeeze in a bit of crafty time. So, I gave myself an hour today, sat down and made this card. It took less than an hour (and that includes pulling out all the supplies, dragging them upstairs to work and then going back down several times for things I needed). You could save yourself even more time and make several while you have everything out. I used our Thursday challenge image (below) as inspiration. I kept the landscape orientation, and I also kept the central focal point as well as the horizontal details underneath the focal point. I kept floral theme and also used a large sentiment. The steps are simple and found further down in this post.I hope this post finds you well and hope that you are able to make a little time for yourself in the midst of all the busy-ness we seem to have in our modern lives.

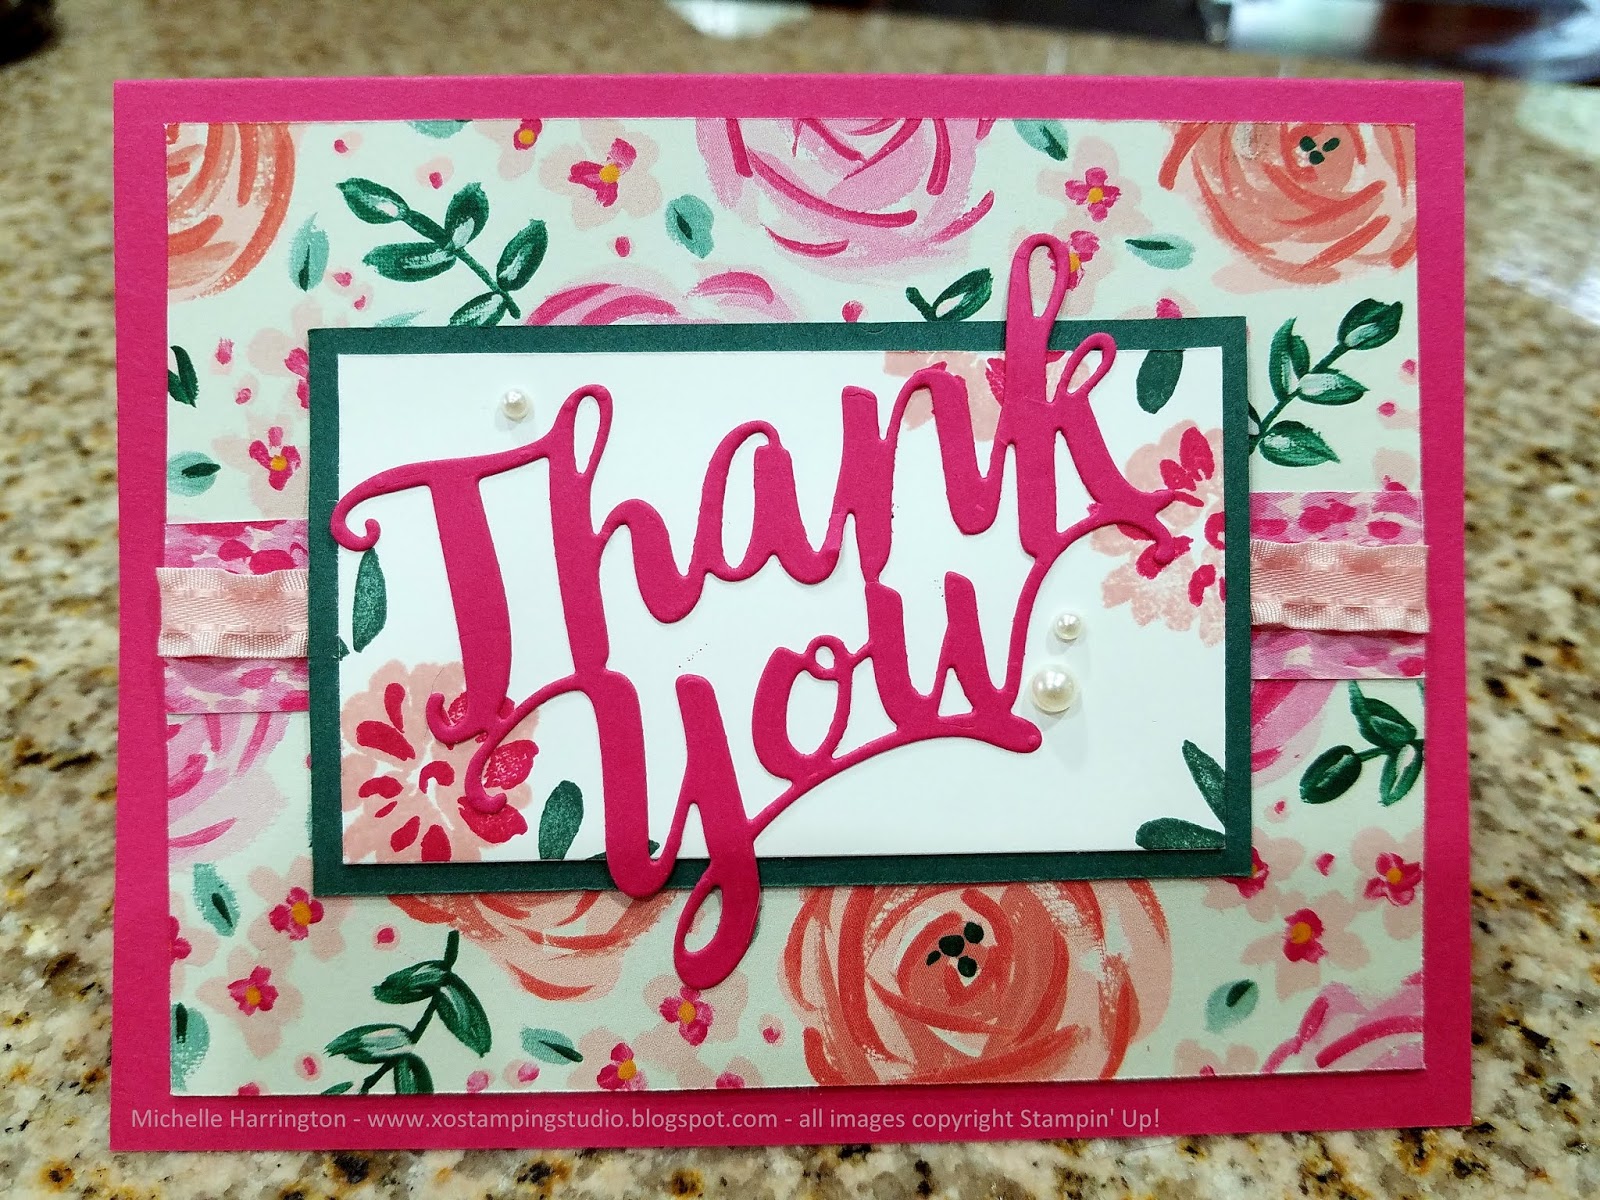
(1) Cut out your base layer (I used Melon Mambo) and score/fold it to create the card.
(2) Pick a pretty piece of Designer Series Paper (I used Garden Impressions) and cut it down to 4"x5.25".
(3) Cut a strip of coordinating Designer Series Paper (DSP) down to 5.25" by 1" (again, I used Garden Impressions). Tip: this is great way to use scraps. Adhere it across the middle of the 4"x5.25" piece. I like to use Snail adhesive for this.
(4) Choose some ribbon (I chose the 3/8" Mini Ruffled Ribbon in Powder Pink) and adhere it down the middle of the DSP strip. I like to do this step now so that the ends of the ribbon can be tucked under this panel before it is stuck to the card base.
(5) Cut a 3.5"x2.25" rectangle of colored cardstock that coordinates with your DSP (I chose Shaded Spruce).
(6) Cut a 3.25"x2" rectangle of Whisper White Cardstock (can use some other light neutral, like Very Vanilla, if it coordinates better with the paper you chose).
(7) Stamp the white rectangle with images and colors that work with your DPS (I chose the Abstract Impressions stamp set, which was designed to go with the Garden Impressions paper).
(8) Stamp or adhere a die cut sentiment to the center of the white rectangle. (I cut Thank You from a scrap of Melon Mambo).
(9) Adhere the white layer to the colored layer, then layer that over the center of the DSP assembly. Then adhere all of that to the card base.
(10) Decorate with small accents. I chose our adhesive pearls.