Saturday, February 9, 2019

Stampin with the Stars #DOswts308: Pop-Up Diorama Fold

Happy Saturday, friends! How are you? We are doing well here. My daughter was sick most of the week so we are getting a little stir crazy at home. But she is better, so hopefully we can get out of the house a bit this weekend.

 My stamping team is introducing a new Blog Hop called "Stamping with the Stars". Two Saturdays a month, we will using a common theme - it may be a color scheme, a funky fold, a challenge to use a certain type of product, etc. - and we will each create a project using our variation on that theme. Our first project (today) is to make a card using the Pop-Up Diorama fold. We were technically supposed to use the tutorial found HERE, but I found the dimensions on THIS tutorial worked a bit better for me. They are similar, but not exactly the same. You may want to experiment and see which works better for you.

If you live in the Midwest, you know that we have had some extremely cold weather, alternating with some ice and snow. Now, I love snow. I really do. I love snowshoeing and cross-country skiing. I love sledding and building snowmen. I even love spending 20 minutes bundling my kid up because it means we can go play in the snow together. That doesn't mean, though, that there aren't times - like when my face hurts because I stepped outside - that I wouldn't mind an escape to some place tropical. And that is why I chose the flamino theme for my pop-up card.

 INSIDE:


 OUTSIDE:

 There are a few things I learned in making this card - if you decide to try this fold, these tips may help you:

 (1) If you want anything on the upper interior panel (the one the hole is cut in) - stamp it, write it, draw it, or adhere it before you assemble the card. I really wanted to stamp "I'm tickled pink for you" on the blue beneath the oval but couldn't because I had already assembled the card.

 (2) If you have anything spanning the hole (like my congratulations sentiment strip), you don't want adhesive running the span of it because it will cause it stick to the bottom layer.

 (3) You can see more of the background image than just the size/shape of the hole so you may want to decorate beyond the edges. For example, my water and flamino and grass actually go all the way to the edges of the white paper they are stamped on so that no matter what angle you look at the inside from, you see prettiness.

(4) The Precision cutting mat for the Big Shot is a huge help when cutting the shape from the card.

I really enjoyed this project after I got the hang of it and now my mind is spinning as I think of other stamp sets that would be fun to use with this fold. If you want to continue on the blog hop, click on the next name here:

Some of my teammates do not blog, but are on Facebook and Instagram, so if you use those media, be sure to search for #DOswts308.

Wednesday, September 26, 2018

DOStamper Stars Challenge - Sketch Pad DSC #299


Good evening!  The last few weeks we have been treated to some cooler weather, with a few hot days mixed in.  The leaves are turning and starting to fall.  The smell of leaves, fire and harvest are in the air.  So, after coming in from a golden evening playing outside with my daughter, I was in the mood to make something fall.  I used the sketch below, but turned it on its side and I'm really happy with how it turned out.  I have the perfect recipient in mind, too!

The colors I used are Pumpkin Pie, Cajun Craze, Early Espresso, Very Vanilla, and Old Olive.  I used the new Buffalo Check background stamp and the Falling for Leaves stamp set and accented it with a simple strip of Braided Linen Trim.   I watercolored with my ink refills and an Aquapainter on our watercolor paper.  That was so relaxing!!!  You have to try it if you haven't.  To give it a little dimension I heat embossed the leaf image.  That also helped keep the ink in place -though there are a few places where it escaped.  And that's okay.  I was going for a rustic look anyway!  Happy stamping!!!


Wednesday, September 5, 2018

DOStampersStars Thursday Challenge ShowCASE DCS#296


Good evening, stampers!  If you follow my blog, you've noticed that I've been MIA.  I had a sweet little one join our family  just over a year ago and she has been keeping me busy.  I've been struggling because I want to make the time to stamp, but I also feel like I don't have time to regularly make the extremely detailed cards that are my favorite to work on.  And so, instead of doing something, I've done nothing.  And all it's done is make me miss this habit...I mean...hobby even more.  And then I got to thinking...I'm just like everyone else.  While we may have different demands on our schedule, we all have demands on our schedules.  It might be caring for kids, or elderly parents, it might be serving your church or community, it might be a job or jobs, other hobbies, caring for your home or cars, etc.

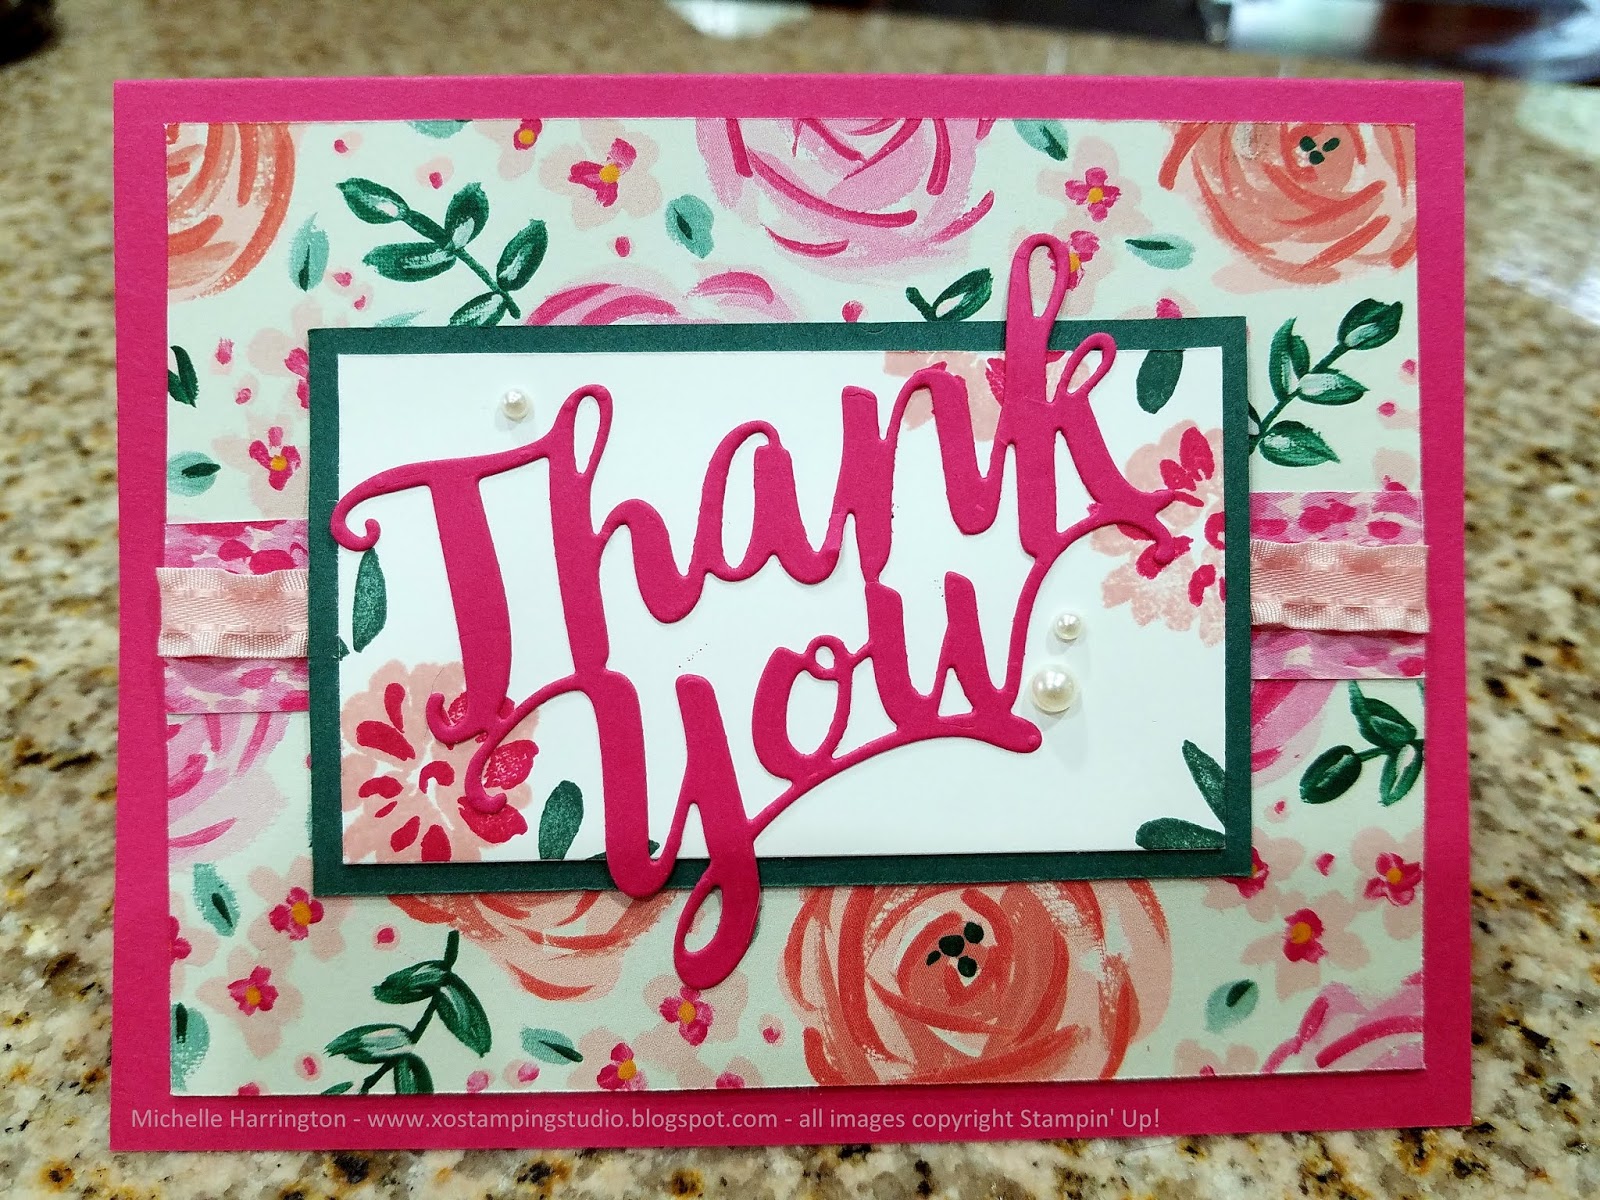
So then I thought "hey, maybe my stampy friends would enjoy some inspiration that is easy to replicate so that they, too, can squeeze in a bit of crafty time.  So, I gave myself an hour today, sat down and made this card.  It took less than an hour (and that includes pulling out all the supplies, dragging them upstairs to work and then going back down several times for things I needed).  You could save yourself even more time and make several while you have everything out.  I used our Thursday challenge image (below) as inspiration.   I kept the landscape orientation, and I also kept the central focal point as well as the horizontal details underneath the focal point.  I kept floral theme and also used a large sentiment.  The steps are simple and found further down in this post.I hope this post finds you well and hope that you are able to make a little time for yourself in the midst of all the busy-ness we seem to have in our modern lives.  


(1) Cut out your base layer (I used Melon Mambo) and score/fold it to create the card.
(2) Pick a pretty piece of Designer Series Paper (I used Garden Impressions) and cut it down to 4"x5.25".
(3) Cut a strip of coordinating Designer Series Paper (DSP) down to 5.25" by 1" (again, I used Garden Impressions).  Tip: this is great way to use scraps.  Adhere it across the middle of the 4"x5.25" piece.  I like to use Snail adhesive for this.
(4) Choose some ribbon (I chose the 3/8" Mini Ruffled Ribbon in Powder Pink) and adhere it down the middle of the DSP strip. I like to do this step now so that the ends of the ribbon can be tucked under this panel before it is stuck to the card base. 
(5) Cut a 3.5"x2.25" rectangle of colored cardstock that coordinates with your DSP (I chose Shaded Spruce).
(6) Cut a 3.25"x2" rectangle of Whisper White Cardstock (can use some other light neutral, like Very Vanilla, if it coordinates better with the paper you chose).
(7) Stamp the white rectangle with images and colors that work with your DPS (I chose the Abstract Impressions stamp set, which was designed to go with the Garden Impressions paper).
(8) Stamp or adhere a die cut sentiment to the center of the white rectangle.  (I cut Thank You from a scrap of Melon Mambo).
(9) Adhere the white layer to the colored layer, then layer that over the center of the DSP assembly.  Then adhere all of that to the card base. 
(10) Decorate with small accents.  I chose our adhesive pearls.


Tuesday, August 14, 2018

Paper Pumpkin "May Good Things Grow"

Hello!  These past few weeks, I had a chance to sit down and play with the "May Good Things Grow" Paper Pumpkin kit.  And it was sure fun!  I made the middle card per the kit's directions, but made the first and last cards using my own design from the supplies in the kit.  Even though you can't buy this kit anymore, I'm hoping that this will inspire those of you who have the kit to use it.  It is gorgeous.  And if you haven't tried Paper Pumpkin, but like this project, you may like future months.  I invite you to give it a try - just reach out to me!


Here is the YouTube video showing how the make the kit the intended way, in case want to compare.  Happy stamping!


Saturday, April 29, 2017

Goodbye, Butterflies, Blooms & Bliss!!!


I was sooooo sad to see this line of products retire.  It's a stamp set called Papillion Potpourri and it has several different images of butterflies and two coordinating punches: the Elegant Butterfly and the Bitty Butterfly.  It really does make a versatile suite.  I have used it on all kinds of cards and scrapbook pages, too, because they can be somber or sweet, playful or pretty, depending on the type of project you are making.  The stamp set will be made until the last part of May but the punches are only while supplies last - so if these projects excite you, you'll want to grab these items before they are gone!  Also retiring is the patterned paper used on all three cards.  It is called Blooms & Bliss and contains the most wonderful color combination: Blushing Bride, Island Indigo, Mint Macaron (also retiring), Rich Razzleberry, Sahara Sand, Sweet Sugarplum and Whisper White.


To see other projects I have made using Papillion Potpourri and/or these punches, CLICK HERE!

Thursday, April 27, 2017

Goodbye, By the Shore!


It usually happens that as the catalog year draws to a close, I discover a few products that I really love that I didn't give any attention to during the life of the catalog.  That is the case with Stampin' Up!'s By the Shore Designer Series Paper.

The color combination (Calypso Coral, Dapper Denim, Mint Macaron, Very Vanilla, and Soft Sky) paired with the nautical/sea themed patterns just naturally lent themselves to some really beautiful but easy-to-make cards.  I will be sad to see this paper pack go.  Because it is retiring, it will only be available while supplies last - so if you like what you "sea" (sorry, I couldn't resist), make sure you pick up a pack (or two) for yourself soon!

Also retiring are the "Me = Grateful" stamp set (the sentiment on the middle card above), Petite Petals (the light blue flowers on the tag of the middle card), and Picture Perfect (the starfish) on the top card.  Don't miss out!  These stamp sets will be unavailable beginning in the end of May.  The sentiment on the bottom most card is from Neat & Tangled.


Wednesday, April 26, 2017

Oh, Whale! Baby Shower Thank You's


In March, my aunt and cousin threw a baby shower for our first baby.   We are doing the nursery in a sea life theme, so they decided to carry that theme into the shower by sending out the cutest little whale invitations and using whale plates and napkins.  It was such a wonderful shower with the ladies in my family, the ladies in my husband's family, a close friend and her daughter (both of whom are pretty much family).

The whale theme was a surprise to me, and I was so happy when I was able to make some thank you notes after the shower using the whale set (Oh, Whale!) I had hoarded purchased several years ago. It is retired, and it did have a die that went with it.  Until this shower, it hadn't gotten much love from me but I'm so glad I held on to it.  This is why I encourage people to buy what they like and keep it - if you like something, you'll eventually find a use for it, as I did here.

The wavy embossing, stitched square and clouds were all made using current Stampin' Up products (click on the words to see them in my store).  The colors are Blushing Bride, Marina Mist, Pool Party and Whisper White.  I've also started lining all of my envelopes.  This envelope liner is paper from the Playful Palette stack, which is on sale for six bucks and retiring...which means it's only available until the current stock runs out!


Pin It button on image hover